
RetroCade User Guide
Windows Quick Start
Install RetroCade Synth
- Download RetroCade Installer
- Unzip to a temporary directory of your choice and run the included setup executable.
At this time the ZPUino IDE does not work if there are spaces in the path, the installer will place the ZPUino IDE in the root of your C: drive instead of in Program Files. If you do not want this to happen then choose "Custom" install type and deselect the ZPUino IDE. You will not be able to edit the RetroCade sketch if you deselect this option.
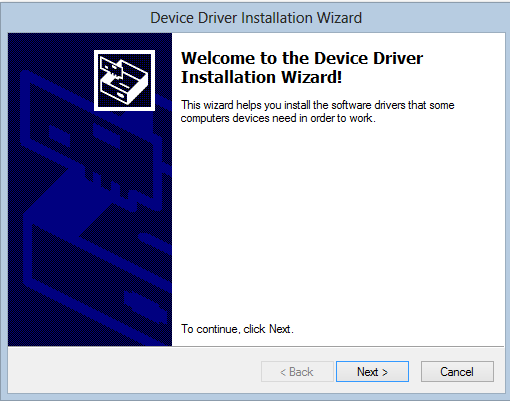
- The Installer will prompt you to install the RetroCade Device Drivers
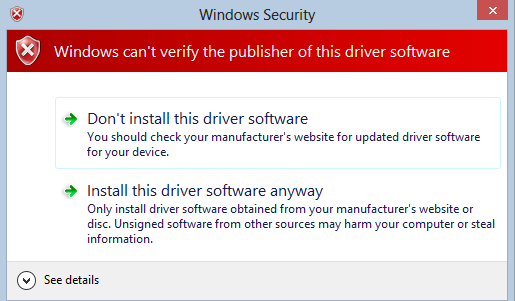
- Windows Security may display a warning message. Choose, "Install this driver software anyway".
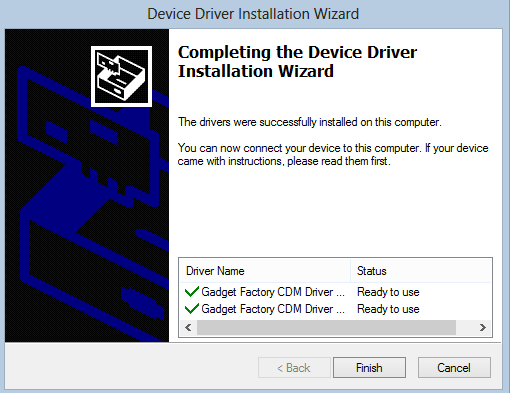
- The drivers should be successfully installed.
Upgrade Hardware
Upon receiving your RetroCade Synth the first thing you will want to do is install the latest firmware to the hardware to ensure you have all the latest bug fixes and features. The latest firmware is included with the Windows Installer and can be accessed from the Start Menu.
- Ensure the RetroCade MegaWing is plugged into the Papilio Pro FPGA board.
- Plug the Papilio Pro board into a free USB port using a standard Mini-B USB cable.

The RetroCade Synth does not ship with a Mini-B USB cable but they are so common that most users will already have one. Many cell phones and handheld electronic devices will use a Mini-B USB cable.
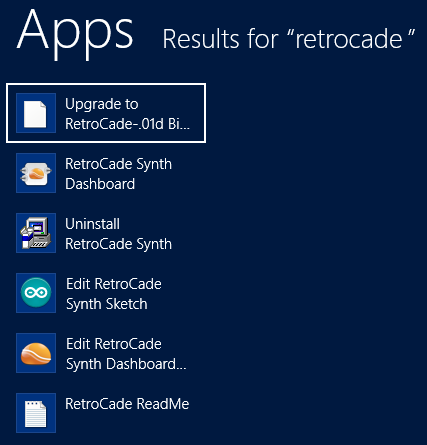
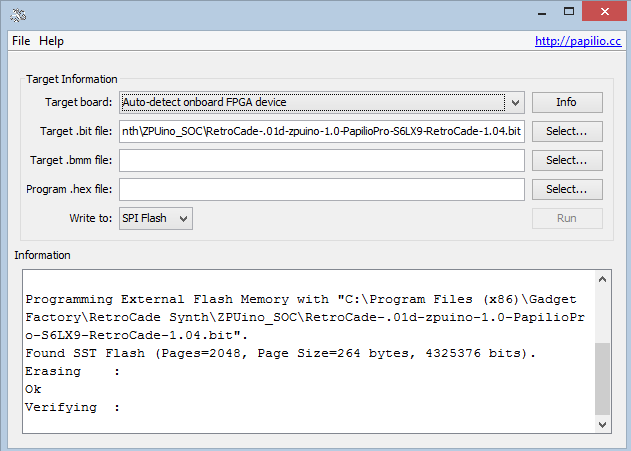
- Open your Start Menu and click on the "Upgrade to RetroCade-[Version] Bit File".
- Windows XP and Windows 7 users will have this entry under "Start\Gadget Factory\RetroCade"

- Windows 8 users should press the "Windows" button on their computer and type in "Retrocade" to see all RetroCade start menu options.
- The Papilio Programmer should pop up and write the latest firmware to your hardware.
Using RetroCade Synth
Use MIDI Keyboard
Once you are running the latest firmware you are ready to connect a MIDI keyboard or controller to the RetroCade Synth and start playing the various sound chips. All features of the sound chips are mapped to MIDI Control Changes so if your MIDI keyboard has knobs and sliders they can be mapped to control all functionality of the RetroCade Synth. Refer to the RetroCade MIDI CC-NRPN Chart for more info. There are two options to control which voice you are playing, you can use the joystick and the LCD screen on the RetroCade to select a voice or you can change the channel on your MIDI keyboard. The voices are mapped according to the following chart:
| MIDI Channel | Sound Chip | Sound Chip Voice |
| 1 | SID | Voice 1 |
| 2 | SID | Voice 2 |
| 3 | SID | Voice 3 |
| 4 | YM2149 | Voice A |
| 5 | YM2149 | Voice B |
| 6 | YM2149 | Voice C |
Use RetroCade Control Dashboard

The RetroCade Control Dashboard is an optional interface that adds a nice, intuitive way to control all the features of the RetroCade sound chips. If your MIDI keyboard does not include knobs and sliders, or you just want an easier to use interface then take a look at the RetroCade Control Dashboard.
Start the RetroCade Control Dashboard
- Open the Start Menu and click on "RetroCade Synth Dashboard"
- Windows XP and Windows 7 users will have this entry under "Start\Gadget Factory\RetroCade"
- Windows 8 users should press the "Windows" button on their computer and type in "Retrocade" to see all RetroCade start menu options.
Connect RetroCade Control Dashboard to RetroCade Hardware
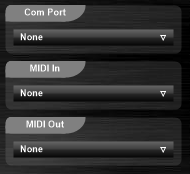
There are two ways for the RetroCade Control Dashboard to connect to the RetroCade Hardware:
- When the RetroCade Hardware is connected to a USB port a virtual COM port connection is established. The RetroCade Control Dashboard can use this virtual COM port to communicate with the RetroCade Hardware. The benefit of this option is that no external hardware is needed. The downside of this option is that you cannot debug the RetroCade sketch over the com port if you use this option.
- The RetroCade Control Dashboard can also communicate with the RetroCade Hardware using a USB MIDI cable that is connected to your computer on one side and the RetroCade MIDI In port on the other.
- Ensure the RetroCade Hardware is plugged into a USB port.
- Use the drop down boxes to select the RetroCade's virtual COM port or a USB MIDI cable.
Use the Computer Keyboard to play Notes
Connect a MIDI Keyboard
Zooming
Presets
Play some sample MOD and YM files The RetroCade firmware includes some sample MOD and YM files that can be played as soon as a control connection is established.
- Select any of the track buttons to start playing a sample track
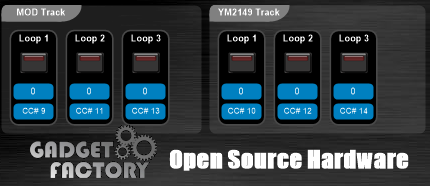
The MOD and YM tracks that are shipped with the firmware are located in the SmallFS filesystem that resides in SPI Flash. Any of the tracks can be overridden by placing a corresponding track onto the SD card. Files named track[1-3].mod will override the mod tracks and files named track[1-3].ymd will override the YM tracks. The YM files need to be converted into ymd (YM Data) files using the following procedure and tools.